By David Chen, Residential Safety Analyst
You spent $500 on security cameras. Installed them all over your house. And guess what? You still can't get a clear shot of anyone's face.
Sound familiar?
Here's the truth: most homeowners waste money on security cameras because they focus on quantity instead of strategy. You don't need 10 cameras covering every square inch of your property. You need the right cameras in the right spots doing the right job.
After analyzing thousands of home security setups, I've noticed the same mistakes over and over. The good news? A few simple placement hacks can transform your security coverage without buying a single extra camera.
Let's fix your setup.
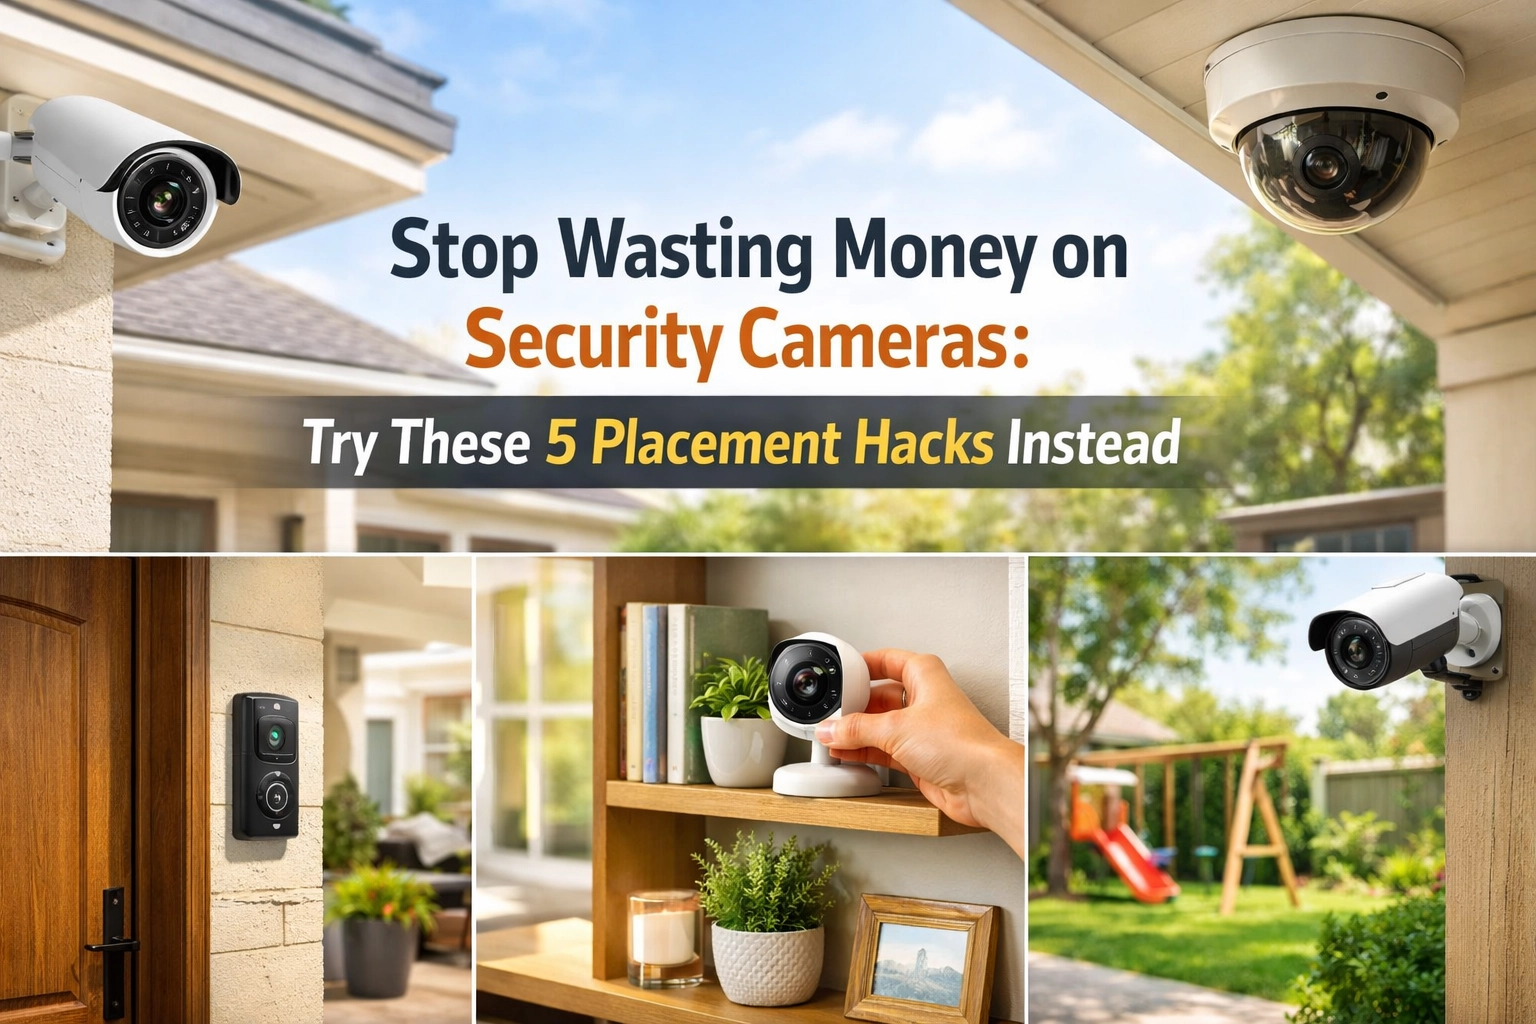
Hack #1: Focus on Entry Points, Not Random Walls
Here's a stat that should change how you think about camera placement: 34% of burglars enter through the front door. Back doors and side doors are close behind.
Yet I constantly see homeowners with cameras pointed at their perfectly manicured lawns or empty driveways while their side door sits completely exposed.
The fix: Map out every entry point on your property's ground floor. That includes:
- Front door
- Back door
- Side doors
- Garage doors
- Ground-floor windows (especially those hidden from street view)
Place one camera to cover each vulnerable entry point. A single well-positioned camera covering your front door and porch is infinitely more valuable than three cameras watching your backyard fence.
Your goal isn't to film your entire property. It's to capture who is trying to get inside and how they're doing it. Focus your coverage where intruders actually enter, and you'll catch them before they become a problem.

Hack #2: Mount at 8-10 Feet High (Not Higher, Not Lower)
This one sounds technical, but it makes a massive difference in your footage quality.
Mount your cameras too high, and you'll record the tops of people's heads. That's useless for identification. Mount them too low, and they're easy to tamper with, disable, or avoid entirely.
The sweet spot: 8-10 feet high.
At this height, your cameras capture clear facial features and identifying details while staying out of reach. It's the Goldilocks zone: high enough to be secure, low enough to actually see faces.
I've reviewed footage where cameras were mounted at 12+ feet because homeowners thought "higher equals safer." The result? Perfect footage of hats and hoodies with zero identifying information. Don't make that mistake.
When you're installing or repositioning cameras, bring a ladder and physically check the angle from that 8-10 foot height. Make sure you're capturing faces, not just bodies.
Call for a Free Quote
877-664-0673
Hack #3: Use Corner Mounting for Maximum Coverage
Want to cover more area with fewer cameras? Mount them in corners.
When you position a camera in a corner at a 45-degree angle with a wide-angle lens, you can achieve up to 180-degree coverage. That's half a circle from a single camera.
Compare that to mounting a camera flat against a wall, where you're limited to maybe 90-110 degrees of coverage. You're literally doubling your field of view just by changing the mounting location.
Where this works best:
- Interior corners of rooms for full coverage
- Exterior corners of your house to monitor two sides simultaneously
- Garage corners to watch both your vehicles and the garage door
This hack eliminates blind spots and reduces the total number of cameras you need. Instead of buying two cameras to cover adjacent walls, one corner-mounted camera does the job.
Just make sure your camera actually has a wide-angle lens (110 degrees or more). If you're using a narrow-angle camera in a corner, you're wasting the strategic position.

Hack #4: Match Your Lens to Your Location
Not all cameras should use the same lens type. This is where most DIY installations fall apart.
Wide-angle lenses (110-130 degrees) are perfect for:
- Large open areas like driveways
- Yards and perimeter monitoring
- Rooms where you want to see everything at once
Narrower-angle lenses (60-90 degrees) excel at:
- Doorways and entry points
- Hallways and staircases
- Anywhere facial recognition matters
Think of it like this: wide-angle cameras are your "big picture" monitors, while narrow-angle cameras are your "detail capture" devices.
I see too many homeowners using wide-angle cameras on their front doors. The result? You can see the whole porch, but faces are too small and distorted to identify anyone. Swap to a narrower angle, and suddenly you're capturing crystal-clear facial details.
Use wide angles to monitor zones. Use narrow angles to capture identities. Don't try to make one camera type do both jobs.
Hack #5: Position for Lighting, Not Just View
Your camera placement means nothing if lighting ruins your footage.
Avoid these common lighting mistakes:
- Pointing cameras directly at windows or glass doors (glare washes out everything)
- Mounting cameras where they face the sun during key times of day
- Positioning cameras where bright outdoor lights shine directly into the lens
Instead, position your cameras so light sources are behind or beside them, not in front. You want lighting to illuminate your recording area, not your camera lens.
For outdoor cameras, check the sun's position throughout the day. If your camera faces east, morning sun will create glare. If it faces west, afternoon sun becomes the problem. Adjust the angle or add a sunshade to prevent footage washout.
Pro tip: Position outdoor lighting higher than your cameras. This floods the area you're monitoring with light while keeping the light source out of your camera's direct field of view. Your footage stays clear, and the area stays well-lit.

Bonus Strategy: Create Overlapping Coverage Zones
Once you've nailed the five hacks above, take it one step further with overlapping coverage.
Position cameras so one camera's field of view begins where another's ends. This creates redundant coverage for critical areas without unnecessary duplication across your entire property.
Why this matters: If one camera gets disabled, obscured, or experiences technical issues, the adjacent camera still captures the activity. You're building in a safety net.
Focus overlapping coverage on:
- Main entry points (front and back doors)
- High-value areas like garages with expensive tools or vehicles
- Any access point hidden from street view
You don't need overlap everywhere: that's wasteful. But for the most vulnerable 20% of your property, redundant coverage is smart protection.
Stop Wasting Money, Start Being Strategic
Here's what most security companies won't tell you: more cameras don't automatically mean better security.
Better placement means better security.
You can have three strategically positioned cameras that capture everything important, or you can have ten randomly placed cameras that miss crucial details. Guess which setup actually protects your home?
The five hacks in this guide: focusing on entry points, mounting at 8-10 feet, using corner positions, matching lenses to locations, and positioning for lighting: will transform your existing security setup without spending a dime on new equipment.
And if you're ready to upgrade to a professionally installed system that's strategically designed from day one, calling your ADT authorized dealer takes the guesswork out of camera placement. You get expert installation, 24/7 professional monitoring, and cameras positioned exactly where they need to be.
Your home deserves protection that actually works. Not just cameras that look good on a wall.